Forms are automatically built with each ‘Peer-to-Peer’ site you create. Each form will include all required fields and can be customized to meet your needs. When you first create your site, four default forms will be created. Each form will have an optional thank you email associated for you to customize as well. A new form will also be created for each additional campaign page you add to your site.

The “Review form” warning icon ![]() will appear next to all forms that need your attention. The icon will appear until you click “save form” after clicking on the edit icon.
will appear next to all forms that need your attention. The icon will appear until you click “save form” after clicking on the edit icon.
Form Types
Each form will be pre-populated with the required form fields for each type of form. While there are four forms that get created there are only three you need to setup: “Registration” forms, “Profiles” and “General Donation” forms.
|
Form |
Description |
|
Registration Form |
These forms are used to register fundraisers for your site. First name, last name, and email address fields are
|
|
Profiles |
These forms are used to allow you to gain more information about fundraisers.
|
|
General Donation Form |
This is the default donation form for your site. With each new campaign type you add you will also get a new donation form but they will all be based on this form. |
Form Setup
Each form will have a default set of fields added but you are able add additional form fields and questions. You can also change how the form appears and setup the thank you email.

You can add a custom header to the page.

You can set the form header and footer here as well.


Click on the “Open HTML Editor” link to launch the ‘Peer-to-Peer’ HTML Editor.

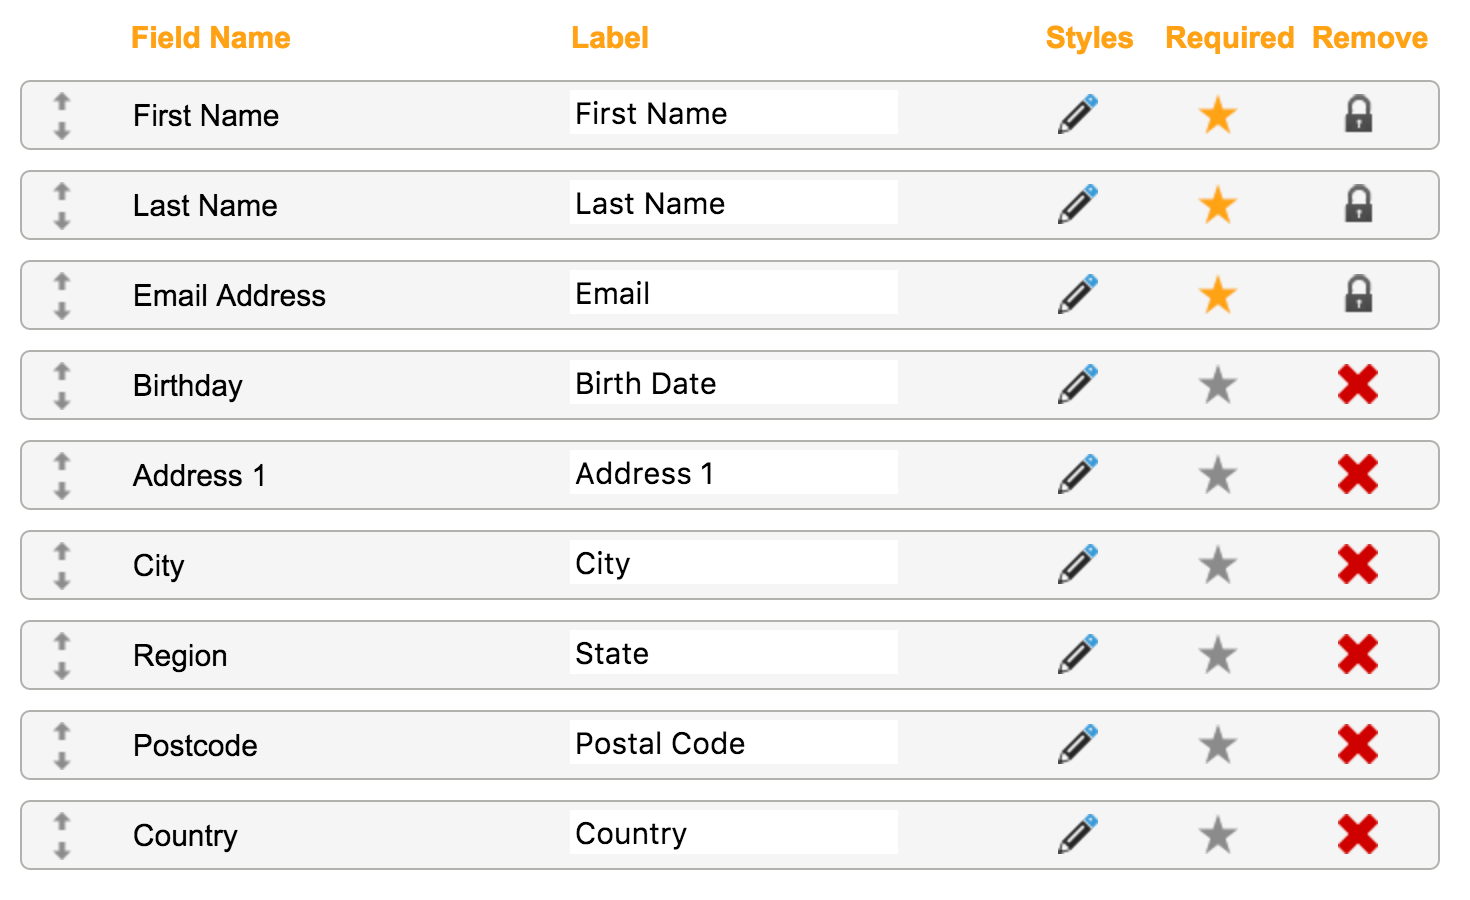
When the form is created the required form fields and some additional recommended fields will be loaded by default. Mandatory or “required fields” will appear with a star icon ![]() next to them. Those fields that are required by ‘Peer-to-Peer’ to create the form and cannot be deleted will be locked. They will appear with a lock and star icon
next to them. Those fields that are required by ‘Peer-to-Peer’ to create the form and cannot be deleted will be locked. They will appear with a lock and star icon![]()
![]()
![]()
![]()
![]()


Editing Fields
With ‘Peer-to-Peer’ form fields you will need to be sure to setup all default content and the HTML type under your “Default Supporter Record”. For details on form field requirements for ‘Peer-to-Peer’ please read the related documentation here.
You are able to modify the label that is displayed on the page as you are with a normal form in Engaging Networks by updating it here. You can also rearrange the order the fields appear on the page by dragging and dropping them in place.
For advanced users, you can customise the appearance of the form elements by adding custom CSS using the edit icon.


Questions
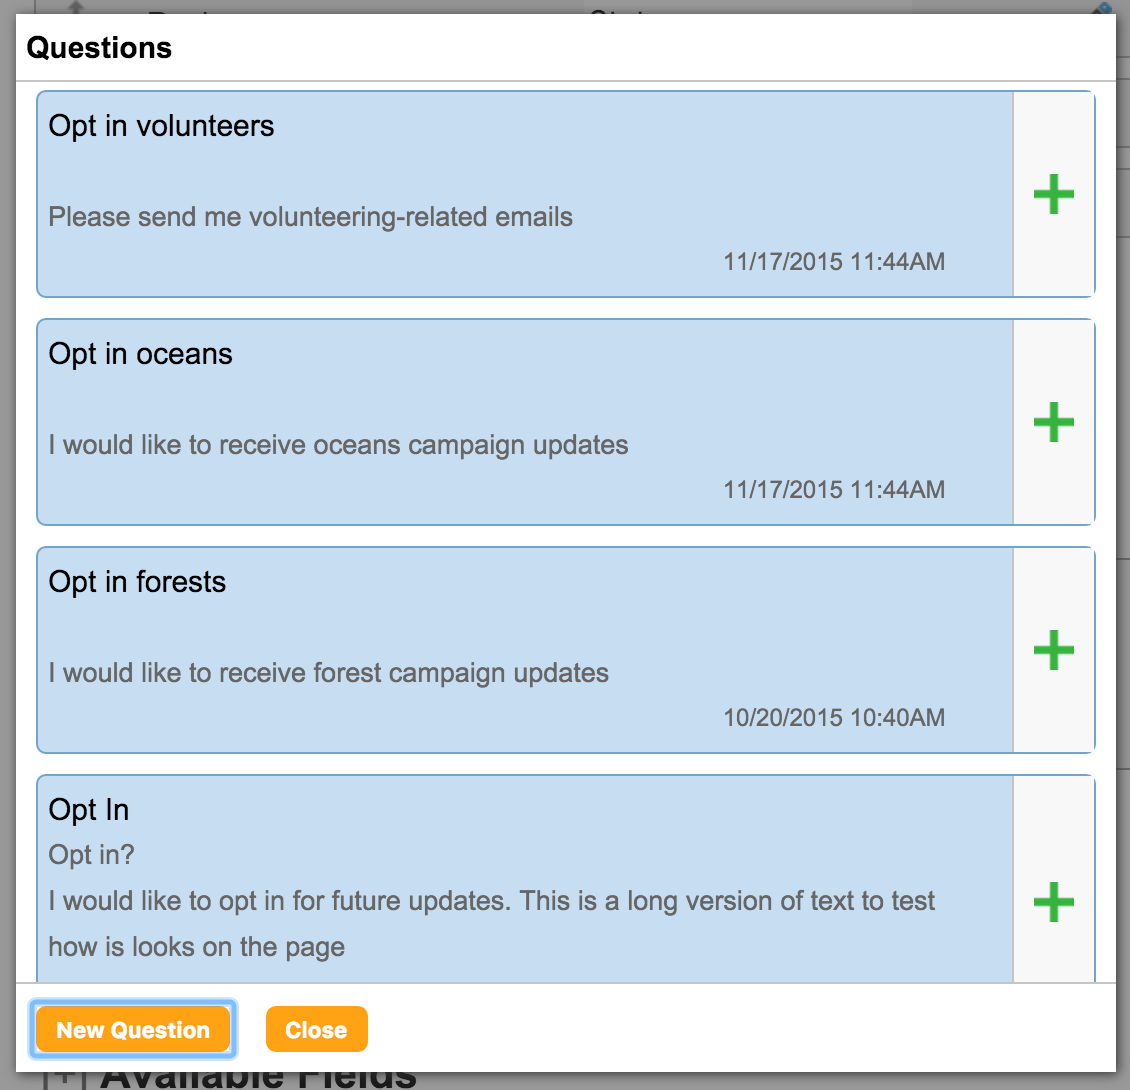
You can add questions to your form by clicking on the “Add Question” button.
![]()
![]()
Doing so will open a window where you can select the question to be used.


Select the question you wish to include on the form by clicking the plus (+) sign or click “New Question” to create a new question for your form. If you have multiple questions on the form you can change their order by dragging and dropping them into place.
Buttons
As with all forms in Engaging Networks, you have the ability to customize your submit and cancel buttons text.


Additional Fields
If there are fields you want to capture on the form that are not included in the default setup you can add them here.


Click on the plus (+) sign to reveal the list of available fields from your “Default Supporter Record” that can be added to the form.
To add a field to your form click on the green plus (+) sign for the field you wish to use.


Once you have finished making all of your customizations to the form click “Save Form” to save your changes.
Thank You Setup
Each ‘Peer-to-Peer’ form has a thank you email that can be sent when the form is submitted.


Profile and Registration forms thank you emails are optional and can be disabled. Donation forms will have a thank you email and confirmation page text that is mandatory. You can also attached a receipt to your thank you email in ‘Peer-to-Peer’.
Emails
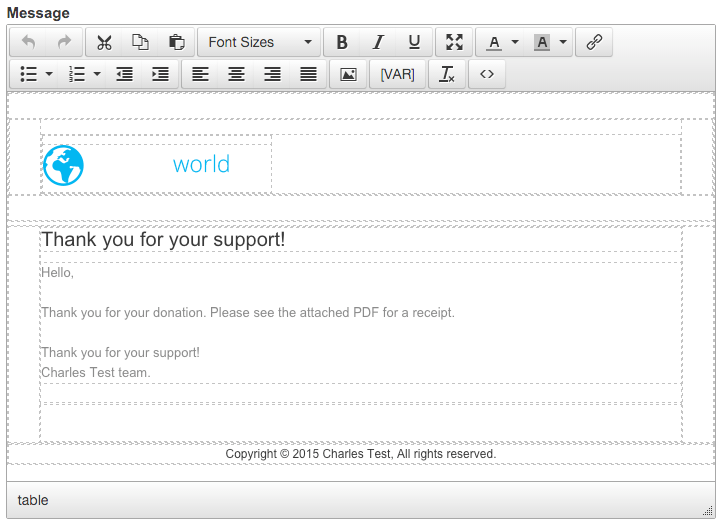
Each email in ‘Peer-to-Peer’ uses a default template. This will need to be updated to match your design.
Depending on the type of form you are editing, the following options will be available for the email.
|
Field |
Description |
|
Enable Confirmation Email (Profile & Registration emails only)
|
You can choose to enabled or disable the thank you email for your profile and registration forms here. By default they are enabled.
|
|
Subject (all) |
All emails in ‘Peer-to-Peer’ will require an email subject.
|
|
Sender Email (all) |
Select the sender for your thank you emails. These will be tied in to your default emails under “Account Preferences > Manage Emails”.
|
|
Email Receipt (donation only) |
You can add a receipt to your ‘Peer-to-Peer’ donation pages. Select the receipt from your existing receipts in Engaging Networks. These are managed under “Account Preferences > Manage Receipts”.
|
To edit the email use the WYSIWYG editor. You can update the content of any email, by entering the content directly into “content box” or click the HTML toolbar ![]()
![]()
![]()


You can also insert dynamic content into the email by clicking ![]()
![]()
|
Website |
|
|
Site Name |
The name you provided when creating your ‘Peer-to-Peer’ site |
|
Site Description |
The SEO Description from the Properties menu |
|
Site URL |
The full URL of your ‘Peer-to-Peer’ site |
|
Donation |
|
|
Default Supporter Record |
All fields available in your default supporter record associated to the donor and transaction will be available to insert here. |
Confirmation Pages (donation forms only)
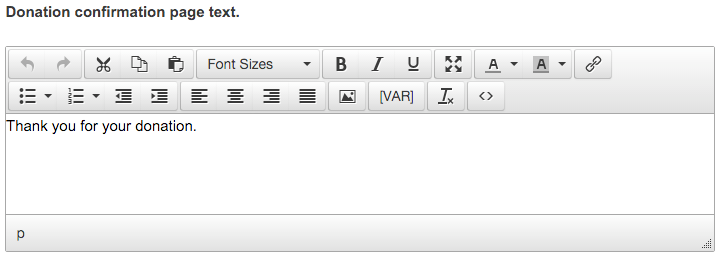
Donation forms also include a confirmation page that users will see after submitting their donation.
To edit the confirmation page use the WYSIWYG editor. You can update the content of any email, by entering the content directly into “content box” or click the HTML toolbar ![]()
![]()
![]()


You can also insert dynamic content into the confirmation page by clicking ![]()
![]()
|
Website |
|
|
Site Name |
The name you provided when creating your ‘Peer-to-Peer’ site |
|
Site Description |
The SEO Description from the Properties menu |
|
Site URL |
The full URL of your ‘Peer-to-Peer’ site |
|
Campaign |
|
|
Page Name |
The name of the fundraiser’s campaign |
|
Story |
The text description of the page |
|
Page URL |
The URL to the fundraiser’s campaign |
|
Goal |
The goal fundraising amount |
|
Raised |
The amount of money raised to date |
|
% to Goal |
The percentage of the goal met to date |
|
Image URL |
The URL of the campaign image |
|
Fundraiser |
|
|
First Name |
The first name of the fundraiser |
|
Last Name |
The last name of the fundraiser |
|
Image URL |
The image the fundraiser set on their campaign page |
|
Fundraiser Alias |
The fundraisers public alias. |
Once you have finished customizing your thank you email and confirmation page click “Save Form” to save your changes.
