A ‘split test’ action enables testing of two or more pages (advocacy or fundraising) and is used when you want to see which page design or layout performs better. The page-builder tools automatically ’round-robins’ your supporters to one of the pages until you (or the system) determine the ‘winner’.
Summary of the steps
Here is a summary of the steps we’ll be going through, which you can also use as a reminder if you have created one before. Click Next at the bottom of this page to get a detailed explanation of each step.
- Create your advocacy or donation page. Create two or more pages from scratch or duplicate existing pages
- Create your split test page. Create the split test page from scratch or duplicate an existing page.
- Update your settings. Determine what to name your split test, what pages you want to use, and how to determine the winner.
- Test and launch your split test!
Create the pages you want to test
To start you will need to create the pages you wish to split test, you can either duplicate pages or create a new ones from scratch.
To create a brand new page, click ![]() You will be shown a variety of different pages you can make:
You will be shown a variety of different pages you can make:
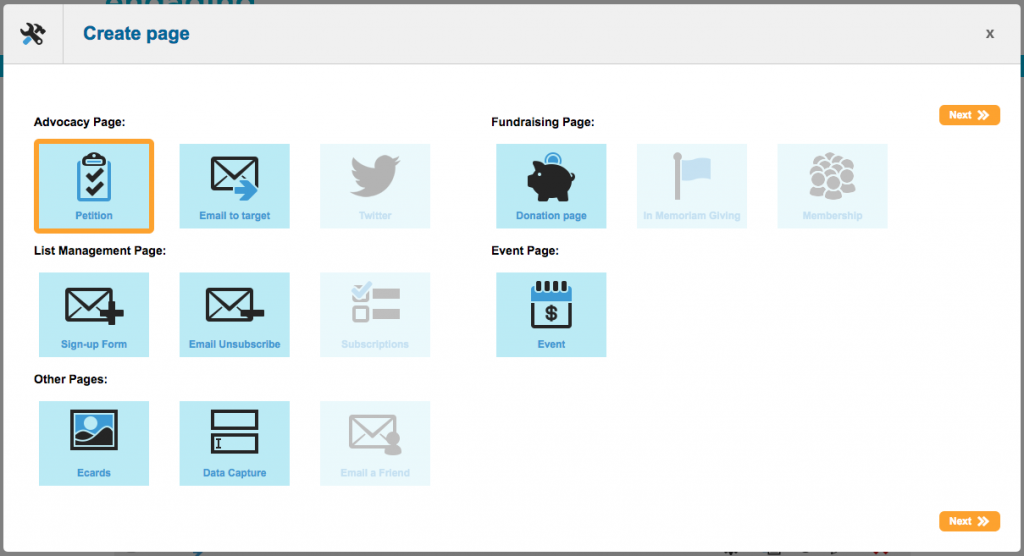

Click on the page type you wish to use and click Next.
To learn more about creating advocacy pages, click here.
Duplicating an existing campaign
Alternatively you can duplicate an existing page you have previously created. To do this, go to your list of campaigns (by clicking on Page Builder in the menu) and next to the one you wish to duplicate, click the button under the “Dup” column ![]()
![]()
![]()
Click the settings icon ![]()
![]()
![]()
![]()
![]()
Create your Split Test page
After creating your pages, you will need to create the split test page. You can either duplicate a page or create a new one from scratch.
To create a brand new page, click ![]()
![]()
![]()


Click on “Split Test” and click Next. You will be taken to the settings page which you can read about on the next step.
Duplicating an existing campaign
Alternatively you can duplicate an existing page you have previously created. To do this, go to your list of campaigns (by clicking on Page Builder in the menu) and next to the one you wish to duplicate, click the button under the “Dup” column ![]()
![]()
![]()
Click the settings icon![]()
![]()
![]()
![]()
![]()
Update the page settings
You can also access this screen via the settings icon ![]()
![]()
![]()
![]()
![]()


The following fields will need to be be completed:
- Name: This is the reference name of your page for your own purposes (the supporter won’t see this). It is a good idea to come up with a naming convention so you can keep track of your campaigns, which is especially useful when using the query builder. For example, “2017-01 Split Test Q1”
- Public title: This field is the public name of your page. You can reveal this by using page tags.
- Status: By default, pages are “New” until you are ready to launch them. New means that the live URL is not available until you set the status to “Live”. You can also close pages here.
- Base URL: The Base URL is the first part of the address of your page. By default this is engagingnetworks.app, but you can read more here about where to set your default base URLs, and here for more about changing the Base URL to something more familiar to your supporters.
Select your pages
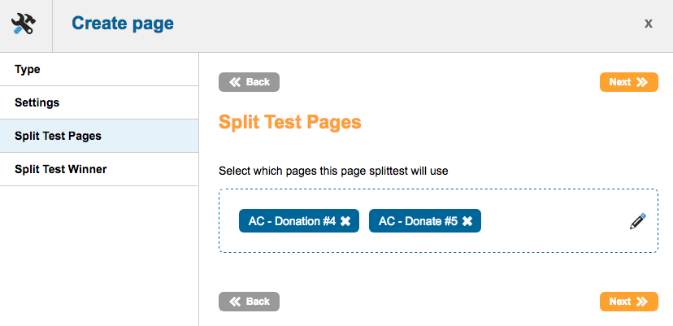
Next, you will need to choose the pages you want to split test between.
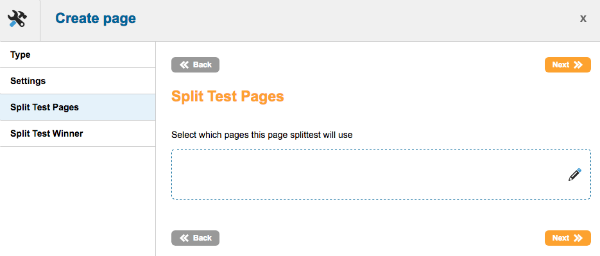

Click the pencil icon to view a list of all of your page-builder pages. Tick the box next to the pages you wish to split test and click ![]()
![]()

Your final step is to determine the winner settings. If you would like us to automatically select a winning page, tick the box next to that setting. We will determine the winner based on the delay criteria and the page with the highest number of conversions.
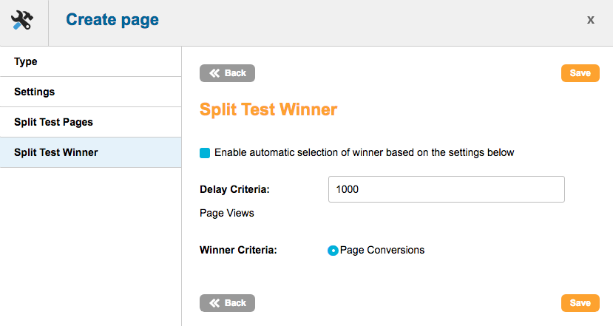

If you want to manually determine the winning page, just leave the box unticked and click Save.
Test and launch your campaign!
Test your pages
You can then view the page as if it were live by clicking the Test button ![]()
![]()
Make it live
Once you are happy it is working correctly, you can change the status from New to Live. To do this, click the admin button ![]()
![]()
![]()
![]()
![]()
In the Page Builder list of pages, you can then click on the name of your page to view the live URL.
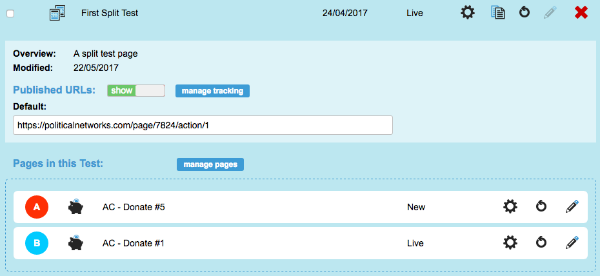

Under “Published URLs” you can see the URL of your split test page. Click “Add tracking” to add different versions of this URL for use on other channels, such as your website, in emails, or on Facebook. Then you can easily see how people come to see your page.
This URL (along with the individual page URLs) will direct supporters to one of the pages you have chosen to split test between. Once a winner is determined, all the the URLs will resolve to the winning page.
