Watch an Overview of Digital Wallets
Digital Wallet Options
These digital wallet options can be combined with any other primary gateway.
- Apple Pay through Stripe
- Google Pay through Stripe
- PayPal One Touch through PayPal
- Venmo through PayPal
Digital wallets are supported on Donation Pages and Premium Donation pages, but not other page types.
Adding the Digital Wallet Options in Your Account
- Go to your Account Settings.
- Select ‘Gateways‘ to view payment gateway settings.
- Click the ‘New Payment Gateway‘ button.
- Add the relevant digital wallet gateway.
- If adding Stripe Apple Pay or Google Pay:
- You will need to connect to a Stripe Account using OAuth for Stripe Connect. (Three options are offered; Standard, Express, Custom. Standard is fine.)
- If adding a Stripe account for the first time and going through the OAuth flow for Stripe Connect in Engaging Networks, you may use a single account as your primary gateway to include digital wallet options. Or, you may choose to add a separate account to include as an additional gateway specifically for digital wallet options on the intended pages.
- If leveraging an existing Stripe account already linked in Engaging Networks (without having gone through the OAuth flow with Stripe Connect in Engaging Networks), you may:
- 1. Add a new Stripe account specifically for digital wallet usage and include as an additional gateway on desired pages.
- 2. Or, you may delete and re-add the account once the digital wallet options have been added in the Stripe account and domains specified. If doing so, please ensure you are also swapping in the updated gateway account to the intended individual pages as needed.
- Be sure to check ‘Enable 3D’ secure in order for the wallets to work properly.
- Stripe digital wallet payment currencies must match, and if using multiple currencies need to be added individually.
- You will need to connect to a Stripe Account using OAuth for Stripe Connect. (Three options are offered; Standard, Express, Custom. Standard is fine.)
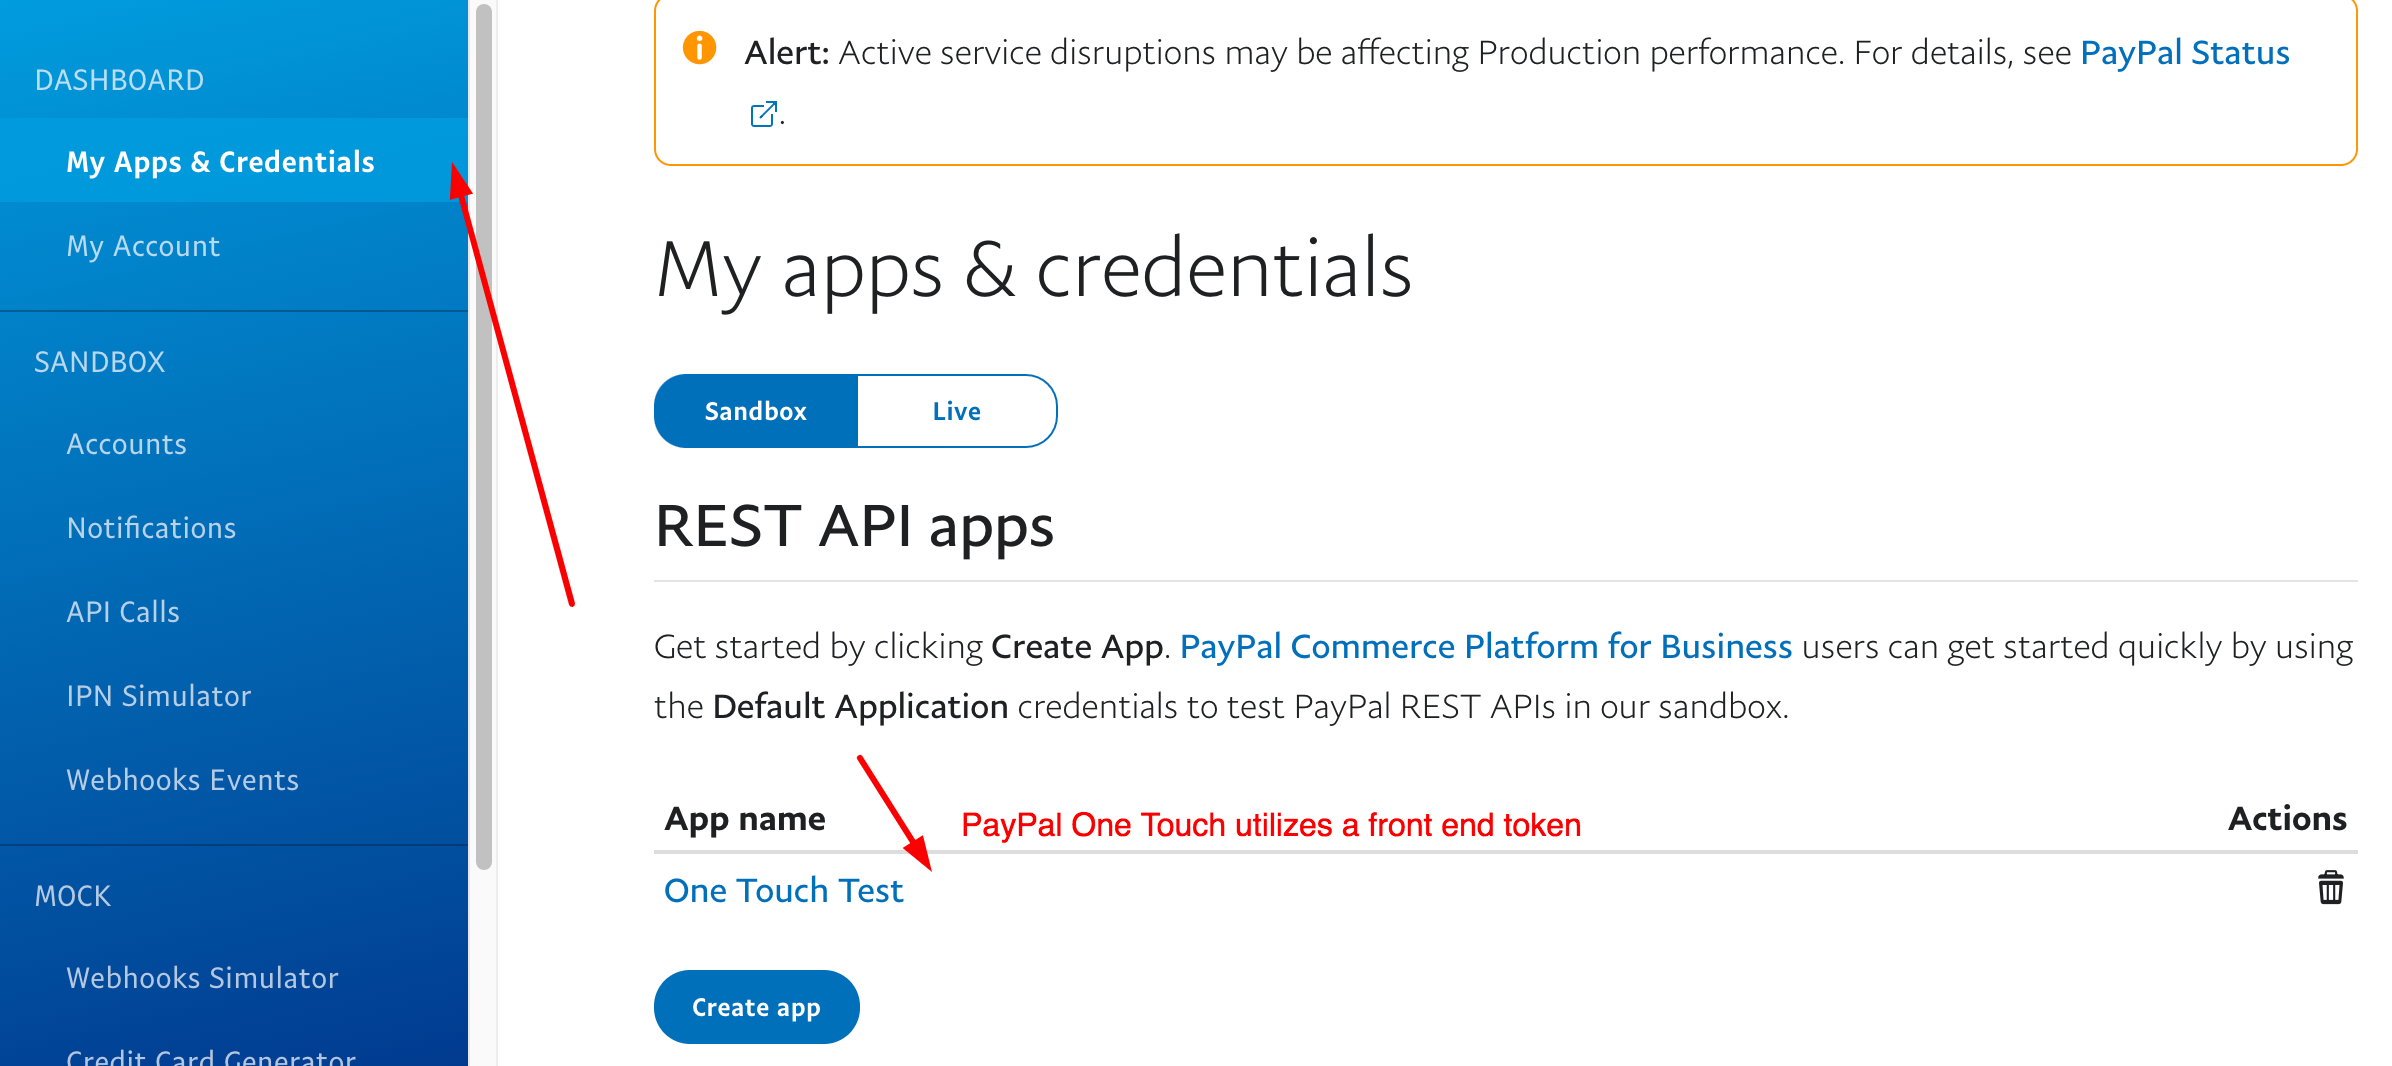
- If adding PayPal One Touch or Venmo:
- PayPal One Touch and/or Venmo will also need to be added as a distinct gateway option, regardless of an existing PayPal gateway option already exists. PayPal Giving Fund will work in the same way as linking a standard PayPal gateway account. PayPal One Touch and/or Venmo cannot be the primary gateway for a page.
- PayPal One Touch can be enabled to accept ANY currencies and does not need to be added individually.
- Venmo is only supported for the U.S. (for both the sender and recipient) and accepts one-time transactions only. If enabled, Venmo must display alongside PayPal One Touch in offering both payment methods.
- If adding Stripe Apple Pay or Google Pay:

5. Ensure settings are updated directly in your gateway. In Stripe, add the relevant domains under Settings -> Payment Methods.
Enabling Digital Wallets on a Fundraising Page
To enable digital wallet options that have been added to your account:
- Open the specific fundraising page settings and select ‘Donation settings.’
- Add the desired digital wallet options, and Save your updates.
- Add or update a form block and select ‘Enable digital wallet buttons.’
- Click on the gear icon next to the ‘Enable digital wallet buttons’ option to customize the styling through pre-determined options. Click ‘Save’ when complete. Note you may also adjust the div containers width through CSS.
Rendering Digital Wallets
Digital wallet options will dynamically display on the relevant device and browser (including desktop and mobile), based on the user’s enabling of the specific digital wallet option on their device. For example, Apple Pay would not show on a Chrome browser, but Google Pay should.
When a user selects to pay via a digital wallet option and confirms details, the digital wallet will immediately process and skip any subsequent page(s) to go directly to the confirmation page. Please ensure to capture the email address in advance of placement of the digital wallet button, as well as any other required details, including name, opt-in(s), etc. As of November 2023, the digital wallets will pass supporter address and phone data to Engaging Networks address if those fields are present on the same page as digital wallet.
Testing Digital Wallets
Apple Pay and Google Pay through Stripe
You can register for a Stripe developer account here: https://dashboard.stripe.com/register
Go to Settings > Payments > Payment methods > Apple Pay and then Configure. Add the domain that your donation page will run under. Don’t worry about step 2 or 3; EN already has the certificate.
- For Apple Pay testing, you can’t add a ‘test card’ but Stripe will see that the gateway is in test mode and will not charge. So it needs to be a working Apple Pay device to test.
- For Google Pay testing, you can add one of the test cards into the Chrome browser, under Preferences > Payment methods.
Apple Pay will display on the page when all of the following apply:
- Apple Pay is turned on for Checkout in your Stripe Dashboard
- The supporter’s device is running macOS 10.14.1+ or iOS 12.1+
- The supporter is using the Safari browser
- The supporter has a valid card registered with Apple Pay
Google Pay will display on the page when all of the following apply:
- Google Pay is turned on for Checkout in your Stripe Dashboard
- The supporter is using Google Chrome
The supporter has a valid card registered with Google Pay
Note: In certain browsers, Stripe’s fallback button for browsers that support the HTML5 Payment Request API but don’t have a working Apple/Google Pay implementation will look like a purple Pay Now button. You can disable this button from appearing by disabling Stripe Link in the gateway settings.
![]()
PayPal One Touch and Venmo
You can register for a PayPal developer account here: https://developer.paypal.com/developer/accounts/
- For PayPal One Touch testing, you will need to create a REST App
- For Venmo enablement and testing, you will need to connect your Venmo account to your PayPal developer account.
Note that PayPal One Touch (including Venmo) is its own gateway type in Engaging Networks. For Stripe, you will need to use the new ‘Connect’ feature in Engaging Networks to add the gateway.
Both Stripe and PayPal gateways can be added to your Engaging Networks account in test mode.
Troubleshooting PayPal One Touch:
- Check that you have added the gateway as its own gateway type
- Check that the Client ID in this gateway is correct
- Check that you have added the gateway as a secondary gateway to your page, and have a valid currency (e.g. GBP)

- Note that PayPal One Touch will only work for single payments on a Donation page (and will not show for an Events page)

Validation and Processing
Since Stripe/PayPal determine the buttons and their functions, we lose some control on front-end validation. For example, if you have a mandatory question, if the supporter hits [Pay By Card] (standard submit button), and it is empty we can validate. But if the supporter hits [Apple Pay], the JavaScript offers no ‘pre-validation’ step for us to check. So it processes the payment with whatever we know about the supporter and/or what is currently set on the form.
Stripe requires Currency to be passed along with the donation and would need to be included in the form.
Its design is to use what we know, prior to processing.
For example :
Page 1 : Donation Amounts
Page 2: Opt In / Address Details
Page 3: Credit Card fields
Page 4 : Thank You
If the digital wallet buttons are on Page 1, then only the fields offered in advance of the buttons on that page will be captured.
If the digital wallet buttons are on Page 2, then Amount and whatever has been filled in before the button placement of Page 1 and 2 will be captured, and so on.
The page logic is that once a digital payment is successful, to go to the last page. In the example above, if on Page 1, then after processing Page 4 will be shown.